
GOLEAP FIELD NOTES
How Long Does Paragliding Equipment Last? A Practical Guide to Care, Checks and Airworthiness
A wing does not become safe because it looks clean—or unsafe because it has reached an arbitrary birthday. Learn what to inspect before every flight, what a professional workshop actually tests, which events should ground the equipment, and how manufacturer-specific service life works.
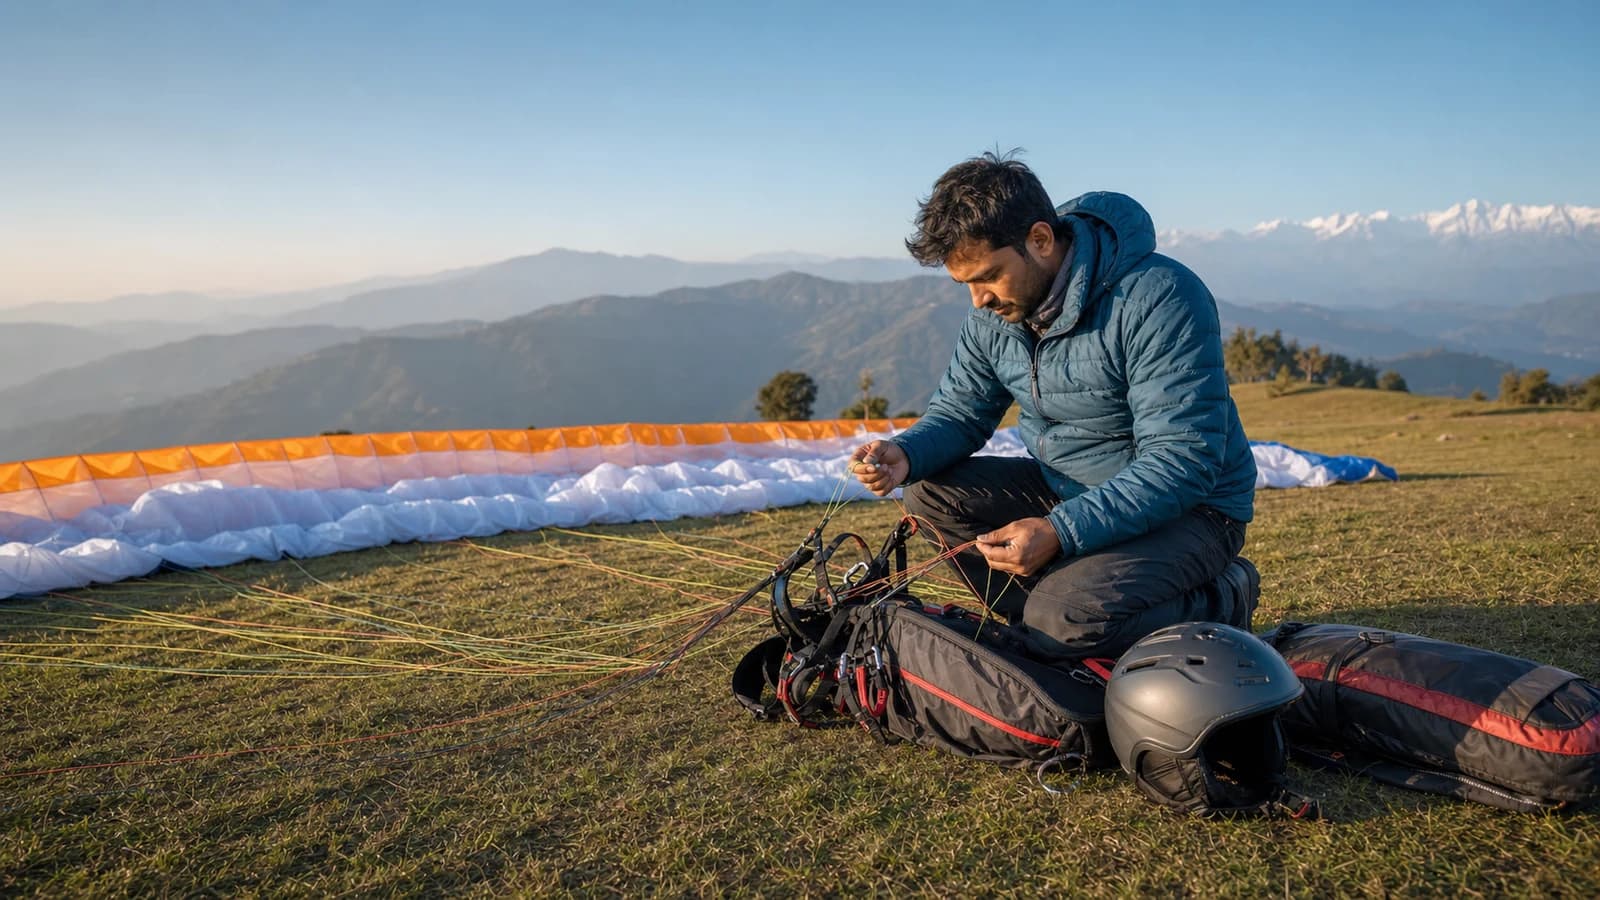
- paragliding
- equipment care
- airworthiness
- safety checks
- maintenance
Paragliding equipment rarely fails because someone forgot its birthday. It becomes unsafe through a combination of use, UV exposure, heat, moisture, abrasion, contamination, impacts, poor storage, unnoticed damage and missed inspections.
That is why “How many years does a wing last?” is the wrong first question.
The better questions are:
- What does this exact manufacturer's manual require?
- How many flights and hours has the equipment logged?
- Where and how was it used and stored?
- Has it been exposed to water, salt, chemicals, hard impacts or prolonged heat?
- What did the last documented professional inspection find?
Airworthiness is a condition supported by evidence—not an opinion based on appearance.
Start with a complete equipment identity
Before talking about maintenance, make sure every critical component can be identified.
Record the make, model, size, serial number, date of manufacture, date first used, owner/operator, certified weight range, manual revision, inspection interval, repair history, safety notices and current status for:
- Wing and line set
- Risers, maillons or soft links
- Harness and protector
- Main carabiners or connectors
- Reserve parachute, bridles and deployment bag
- Reserve handle and harness container
- Helmet
- Speed system
- Radio, flight instruments and tracking device where used
An equipment log should travel with commercial equipment and stay accessible for privately owned gear. If the history is missing, treat that uncertainty as a risk—not as proof that nothing happened.
The four inspection clocks
Good maintenance runs on four clocks at the same time.
| Clock | When it runs | What it triggers |
|---|---|---|
| Before-flight clock | Every flying day and before every launch | Pilot visual and functional checks |
| Calendar clock | At the interval in the manual or local rule | Reserve repack, periodic harness/wing check, connector or helmet replacement |
| Usage clock | Flights, flying hours, tandem cycles or packing cycles | Workshop inspection or component retirement when the manual specifies it |
| Event clock | After a hard landing, tree/water landing, reserve deployment, overload, chemical contact or abnormal flight behaviour | Immediate grounding and qualified inspection |
Whichever limit or trigger comes first wins. A low-hour wing stored wet can be worse than a higher-hour wing that was carefully used, dried and inspected.
Before every flying day: the equipment walk-around
Do this in good light before the rush at take-off. Commercial operators should document the result in their daily process.
Wing and fabric
- Confirm the correct wing, size and serial number.
- Look over the upper and lower surfaces, leading edge, trailing edge, cell openings, ribs, seams and repair areas.
- Check for tears, pinholes, delamination, coating damage, discolouration, mould, brittle fabric or distorted reinforcements.
- Empty sand, stones, leaves, snow or debris from the cells through the designed openings.
- Pay special attention to line-attachment tabs and any place that took a shock load.
Do not pull, stretch or “test” fabric by hand. Porosity and tear strength require defined methods and trained judgement.
Lines, risers and brakes
- Separate the lines completely and remove twists without dragging them over rocks.
- Look for knots, cuts, melted fibres, damaged sheathing, fuzzing, kinks, discolouration or signs that a line was trapped or stepped on.
- Check line loops, attachment points and stitching.
- Confirm maillons are correctly closed and secured exactly as the manual specifies; inspect soft links for correct routing and wear.
- Inspect risers, pulleys or low-friction rings, trimmers if fitted, brake handles and brake-line routing.
- Make sure the speed system runs freely and cannot interfere with the reserve system.
Never adjust line trim by guesswork. A wing can look symmetrical on the ground and still be materially out of trim.
Harness, protector and connectors
- Inspect load-bearing webbing, hang points, leg loops, chest strap, shoulder straps and stitching.
- Close and reopen every buckle to verify correct engagement and function.
- Check carabiners/connectors for correct orientation, full closure, deformation, cracks, burrs, corrosion and unusual play.
- Confirm the seat board or structure is correctly positioned where fitted.
- Inspect the airbag inlet, foam protector or other impact protection for damage and correct assembly.
- Check that adjustment straps are symmetrical and cannot slip under load.
A connector can be within its calendar life and still be unserviceable because it is damaged, contaminated or operating incorrectly.
Reserve system
- Confirm the reserve handle is the correct one for the harness and is firmly attached to the deployment bag.
- Check pins, loops, flaps, zips and hook-and-loop closures for correct routing and secure closure.
- Confirm the bridles and connectors are correctly installed and protected.
- Make sure nothing—especially the speed-bar routing—can obstruct extraction.
- Verify the reserve size and certified weight range remain appropriate for the pilot's all-up flying weight.
Do not casually open or repack a reserve at launch. Packing, installation and compatibility checks belong with a competent person following both the reserve and harness manuals.
Helmet and supporting equipment
- Inspect the helmet shell, inner energy-absorbing liner, retention straps and buckle.
- Confirm a secure, comfortable fit and a fastened chin strap.
- Replace or professionally assess a helmet after an impact according to its manual; hidden liner damage may not be visible.
- Check radio function, batteries, tracker, phone, instruments and emergency contacts.
- For commercial operations, confirm the first-aid kit, rescue equipment and communication plan are serviceable.
Before launch: a final connected-system check
The walk-around checks components. The launch check confirms the assembled system.
Use a consistent mnemonic taught by your school or operating SOP. At minimum, verify:
- Pilot/passenger: fit to fly, briefed, helmet secured, pockets and loose items controlled.
- Harness: all intended buckles closed and visually/tactilely confirmed.
- Reserve: handle and pins secure, no obstruction, correct system installed.
- Connections: both risers correctly attached, connectors closed and oriented, speed system correctly connected.
- Wing and lines: canopy open to view, lines clear, brakes correct, no knots or snag hazards.
- Conditions and plan: wind cycle, launch path, airspace, traffic, landing and abort decision all suitable.
Interruptions cause mistakes. If the check is interrupted or the pilot disconnects anything, start again.
What a professional wing inspection actually tests
A workshop check is more than holding a canopy up to the sun. The exact protocol and pass/fail limits come from the manufacturer, but a robust periodic inspection may include:
| Test | What it reveals |
|---|---|
| Identity and documentation | Correct model, size, serial, certification data, service history and applicable safety notices |
| Fabric porosity / air permeability | Loss of coating performance and the fabric's ability to maintain internal pressure |
| Fabric tear-strength test | Whether the cloth still resists tear propagation; often measured with a calibrated tool such as a Bettsometer |
| Line visual inspection | Cuts, sheath damage, kinks, abrasion, stitching defects and local overload |
| Line breaking-strength sample | Whether representative lines retain the manufacturer's required residual strength |
| Full line-length and trim measurement | Shrinkage or stretch that changes angle of attack, handling, stall behaviour and certified characteristics |
| Attachment-point inspection | Damage or weakness at line loops, tabs, seams and load-transfer structures |
| Riser and connector inspection | Wear, deformation, closure, symmetry and correct assembly |
| Canopy inspection | Tears, seams, ribs, diagonals, reinforcements, internal damage, previous repairs and contamination |
| Flight check, if prescribed | Abnormal handling or behaviour after measurements and repairs are complete |
ADVANCE, for example, currently describes porosity measurements at four upper-surface points, a fabric tear-strength test, line material and strength checks, a full line-length/trim check, attachment inspection and a documented final condition rating.
What a professional harness and reserve inspection covers
For a harness, the inspector should assess all load-bearing webbing, stitching, buckles, carabiners, protectors, seat structure, reserve bridles and container, reserve handle, closure system and speed-system routing. Removable components may need to come out to see hidden areas.
For the reserve system, service can include:
- Airing and repacking at the manual's interval
- Fabric, line, bridle and connection inspection
- New packing elastics where required
- Compatibility confirmation between the reserve, deployment bag, handle and harness container
- A hang-test or extraction test after installation
- A complete inspection after a real or training deployment
“The reserve was repacked” is incomplete documentation. Record who did it, when, which manual/procedure was used, whether the installation was extraction-tested and when the next action is due.
How long does each part last?
There is no safe universal expiry table. The examples below show why the exact manual matters.
| Component | Example interval—not a universal rule | What decides retirement |
|---|---|---|
| Solo wing | ADVANCE currently calls for many standard wings to be checked every 24 months, 150 flights or 150 hours, whichever comes first; its light models use 24 months, 100 flights or 100 hours | Test results, manual, use, incidents, repairs, line condition and continuing support—not age alone |
| Commercial wing in India | The 2018 Indian Adventure Tourism Guidelines say commercially used equipment should receive annual fabric-porosity and line-length inspection | Local rules, manufacturer schedule, workshop findings and operating intensity |
| Reserve parachute | Current SUPAIR manuals illustrate the variation: SHINE calls for a six-month repack; X-LITE calls for at least annual repacking and six months when heavily compressed | Manual, age, packing cycles, deployments, moisture/contamination, inspections and compatibility |
| Harness | ADVANCE recommends regular inspection and a thorough visual check every 24 months; an Ozone OZO manual states a ten-year official lifespan for that model | Manual, webbing/stitching condition, impacts, protector condition, repairs and service history |
| Carabiners/connectors | A SUPAIR EVO Lite manual advises five years or 500 hours for its carabiners; other connector models publish different limits | The connector's own manual, usage, material, tandem/solo duty, damage, corrosion and closure function |
| Helmet | SUPAIR's PILOT manual advises replacement every five years and immediate replacement after impact | Manufacturer life, impact history, UV/heat/chemical exposure, liner and retention-system condition |
| Foam/impact protector | Some harness manuals specify a time limit and/or a maximum number of substantial impacts | Manual plus any deformation, impact or loss of protective function |
Never transfer an interval from one brand or model to another. “My friend's carabiner lasts eight years” says nothing about yours.
Events that should ground equipment immediately
Stop using the affected equipment until a qualified person or authorised workshop clears it after:
- A tree landing, hard impact, crash or dragging event
- A water landing, especially salt water
- Packing while wet, visible mould or a persistent musty smell
- Contact with fuel, oil, battery chemicals, solvents, aggressive detergents or unknown contamination
- A reserve deployment, accidental opening or failed extraction test
- An overload, shock loading, towing incident or use outside the certified weight range
- A damaged line, attachment tab, riser, connector, buckle, webbing or seam
- Sudden changes in launch behaviour, trim, brake pressure, tendency to turn, stall point or recovery behaviour
- Discovery of an applicable manufacturer safety notice
- Missing identity, unknown history or overdue mandatory inspection
Do not make an undocumented field repair to a structural component and continue flying because the weather is good.
Care for Indian conditions
India's flying environments can age equipment quickly in different ways.
High-altitude sun and dry launch fields
UV exposure and abrasive dust damage fabric, lines and stitching. Keep the wing packed until needed, use a ground sheet where practical, avoid dragging, remove debris and do not leave equipment baking at launch.
Hot vehicles
A closed car in the sun can become extremely hot. Heat accelerates material ageing and can damage helmets, coatings, plastics, batteries and adhesives. Do not use a car boot as long-term storage.
Monsoon humidity
Never seal damp equipment in a compression bag. Unpack it fully and dry it at room temperature or outside in shade with airflow. Look for condensation after large temperature changes.
Coastal sand and salt
Sand works into cells, lines, pulleys, connectors and closures. Salt attracts moisture and accelerates corrosion. Follow the manual after salt-water exposure; many manufacturers require thorough fresh-water rinsing and professional assessment after significant exposure.
Storage between seasons
Store equipment loosely in a cool, dry, ventilated, dark location away from rodents, insects, chemicals, fuel, sharp objects and heavy loads. Do not place weight on the helmet or reserve container. Remove or manage batteries according to the device manual.
Buying used equipment: demand evidence
A clean photograph is not an inspection report. Before buying, ask for:
- Serial numbers and manufacture dates for every critical component
- Original manuals and certification/size data
- Total flights and hours, including tandem or school use
- Storage history and exposure to water, salt, heat or chemicals
- Incident, deployment, repair and modification history
- Latest wing inspection report with porosity, strength and trim results
- Latest reserve repack/inspection record
- Applicable safety notices and proof of corrective action
- A professional compatibility and extraction check for the complete harness-reserve system
If the seller cannot establish the history, price is not the main risk. Uncertainty is.
Keep a maintenance log that can answer hard questions
A useful log records:
| Field | Example |
|---|---|
| Equipment ID | GL-PG-WING-014 |
| Component | Tandem wing |
| Make/model/size/serial | As marked on certification label |
| Flights and hours | Updated from pilot/operator log |
| Daily check | Date, checker and result |
| Professional inspection | Date, workshop, tests, report link and condition rating |
| Repair/modification | Date, work performed, authorised person and return-to-service decision |
| Exposure/incident | Water, impact, overload, contamination, reserve deployment or abnormal behaviour |
| Next action due | Calendar date, flights or hours—whichever comes first |
| Status | Serviceable / Grounded / Under inspection / Retired |
The companion paragliding-equipment-log-template.csv in this editorial pack can be adapted for an operator's system. A spreadsheet is not a substitute for the product manuals or an authorised inspection; it is the audit trail that shows those requirements were followed.
The maintenance hierarchy
When guidance conflicts, use this order:
- Immediate safety notice, recall or airworthiness directive affecting the exact product
- Current manufacturer manual and authorised service instructions
- Binding national, state, district and site requirements
- Operator SOPs that are at least as strict
- General advice and rules of thumb
The goal is not to squeeze the last possible flight out of equipment. It is to make every return-to-service decision traceable, conservative and supported by the right evidence.
Sources and further reading
Facts and links last checked on 26 July 2026. Always retrieve the current manual and safety notices for the exact make, model and serial number.
- Ministry of Tourism — Indian Adventure Tourism Guidelines, Version 2.0
- Ministry of Civil Aviation — National Air Sports Guidelines 2023
- ADVANCE — scope and interval of professional glider inspections
- ADVANCE — harness inspection scope and principles
- ADVANCE — care, storage and packing guidance
- SUPAIR SHINE reserve manual — repacking and longevity
- SUPAIR X-LITE reserve manual — care, repacking and lifespan
- SUPAIR EVO Lite harness manual — inspection and connector example
- SUPAIR PILOT helmet manual — care and lifespan
- Ozone OZO harness manual — care, inspection and model lifespan
This guide is educational. Inspection, repair, reserve packing and return-to-service decisions should be performed only by people authorised and competent for the exact equipment and procedure.
THE NEXT CHAPTER IS YOURS
A little more curious.
A little more ready.
Take what you’ve learned into your next adventure.